
Once back to Connecticut, we got right onto our projects. The sooner we start, the sooner we can be done. Well, that’s the theory anyway…
Our cockpit enclosure was at the top of our list as age is causing cloudiness & discoloration. A normal person would have a marine canvas company fabricate a new one. Not only would that likely cost over $8,000, but we would also be without our enclosure for much of the summer, as they would take them to use as patterns & slowly work on them while juggling dozens of other jobs. Would the work even be done when we need to leave in September? As the cockpit is our “living room” & it can be quite buggy here – would not be good.
I also didn’t want identical replacements. While the standard Strataglass clear vinyl is o.k. & can be rolled up for ventilation, it is optically imperfect with wrinkles inevitable. High end yachts & sportfish boats are now using semi-rigid materials such as Lexan at extreme cost.
One of my “how hard can it be?” moments brought me to replace the 3 rear panels myself with a scratch-resistant type of polycarbonate. While unable to be rolled up, clarity is much more important. I decided I could re-use the vinyl border & while it’s common to use 3M adhesive tape to attach the polycarbonate, that method has its own concerns. In the end, I used the old Strataglass panels as patterns to drill, then stitch using high performance thread to the old vinyl edging.
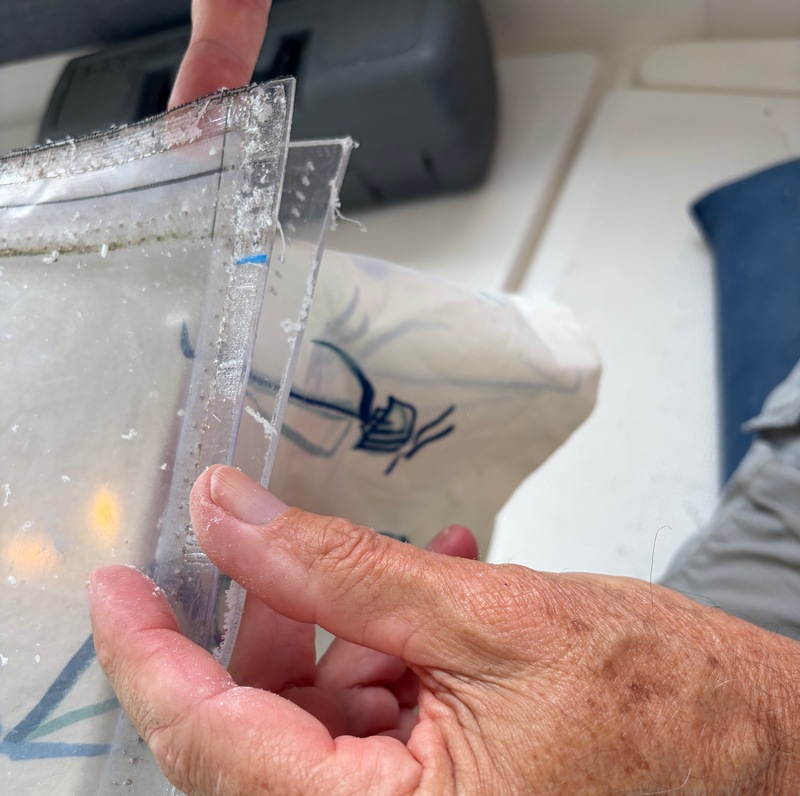 Thousands of .1 mm holes, drilling one for every other stitch.
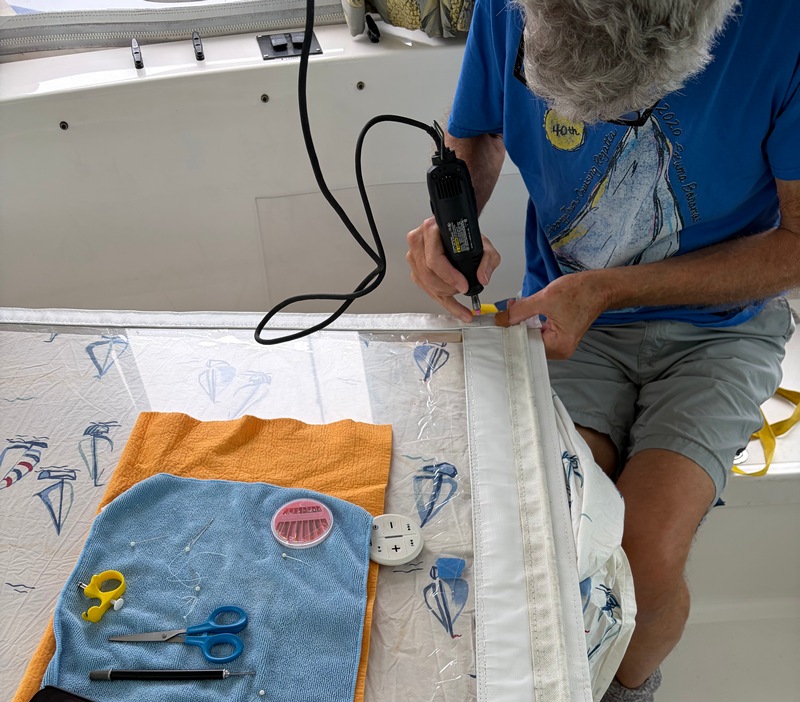 Once I got going, the drilling went fairly smoothly, except when Lori once yelled up asking me something – I drilled right through my thumbnail & halfway into my thumb as the bit broke off – all in a fraction of a second. Fortunately, a tiny portion was sticking out, so I could back it out.
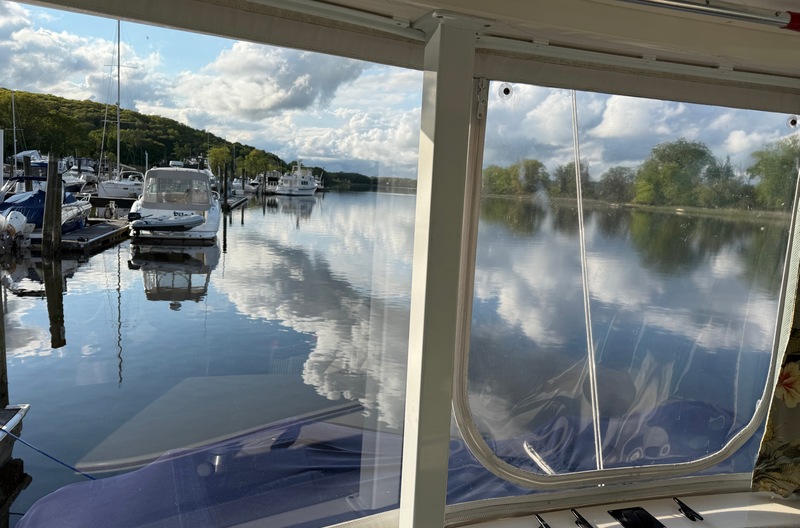 Probably my most satisfying boat project ever – the polycarbonate is as clear as glass with fantastic visibility. New panel to the left / old to the right.
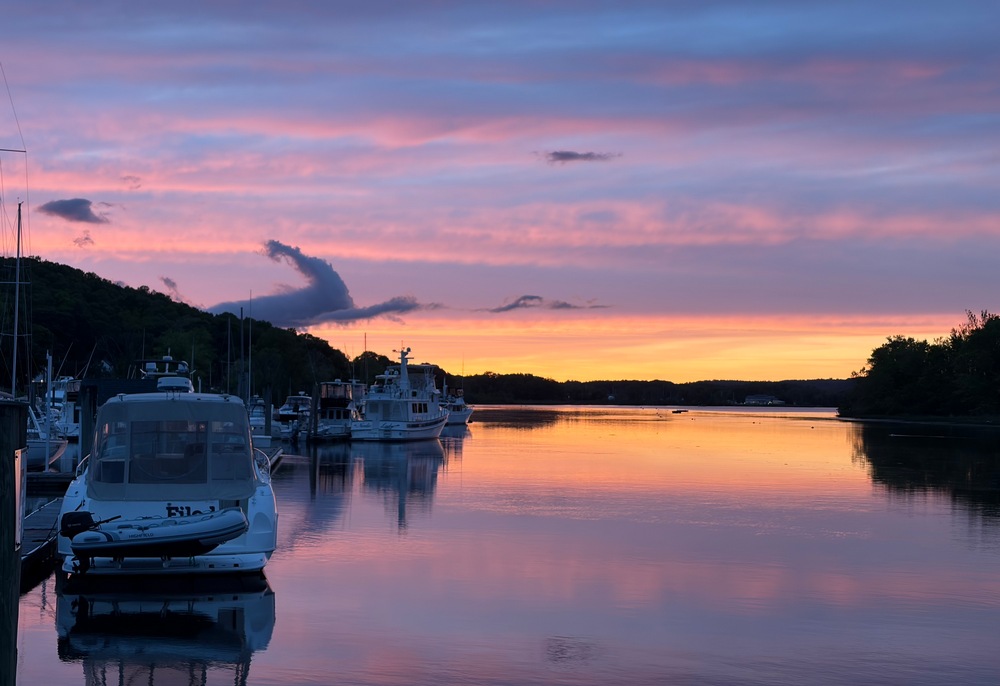 Clear both day & night
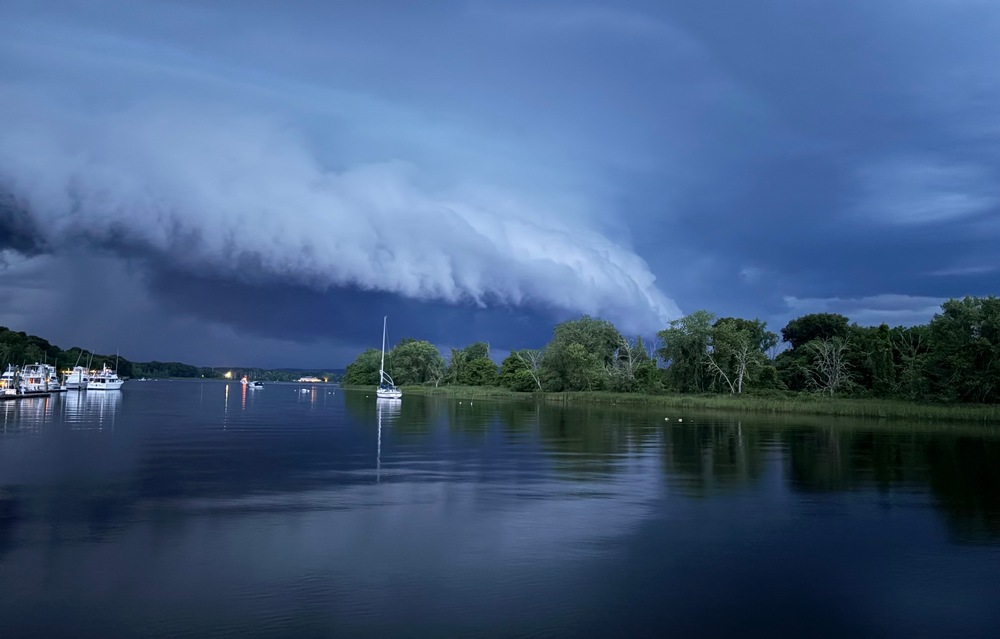 To see what’s coming
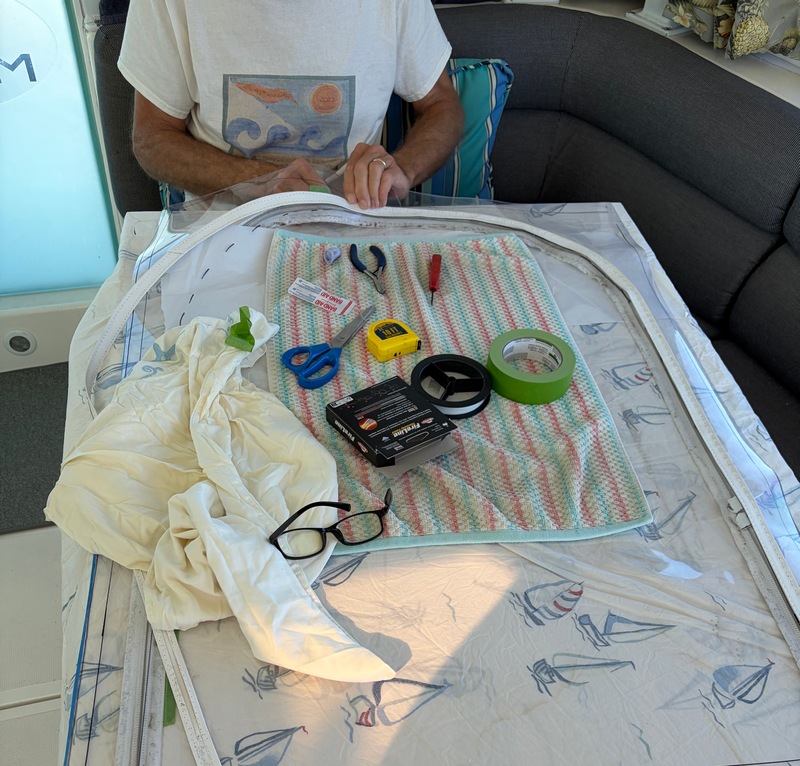 Sadly, with the 3 rear panels looking fantastic, the old side panels looked really, really bad. While I was tempted to continue using polycarbonate, there are 2 curved corner pieces, plus I decided having the roll-up “smiles” & built-in insect screening was important, so I used the traditional flexible Strataglass material. Hand stitching, including the “smiles,” took many hours.
 “Easy” projects such as replacing a rotting plywood base for our freezer was almost a pleasure. Engine maintenance, oil changes & coolant replacement – no problem!
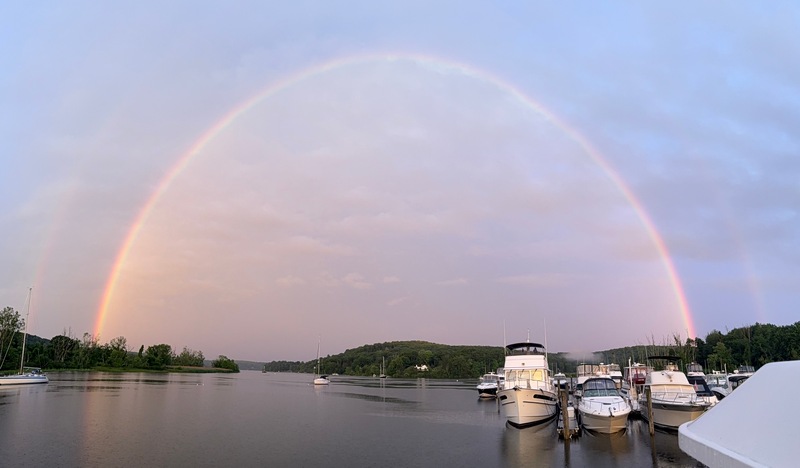 Surely, a double rainbow must be a sign my projects are done??
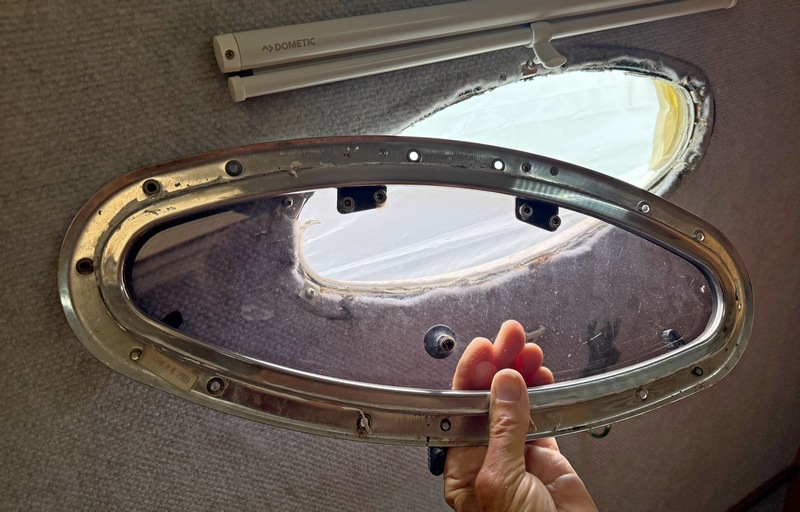 No such luck – the rainstorm which caused that rainbow had caused an occasionally drippy porthole to gush water, so … out it came. The original installation wasn’t ideal, so I’ll be re-doing all 8 portholes 😦
While I’ll repair the worst couple of portholes now, the rest will have to wait. We have lots of fun plans for the rest of summer, boat trips to Long Island, Block Island & the Vineyard, fireworks, car trips to Maine & Vermont & much more!


That is some impressive stitch wizardry! I’ll be calling to get a quote for an enclosure for our fly bridge 😉
Chris
LikeLike
Closed for business! Russ would be happy to give you helpful tips 😁
LikeLike
Guard your new portholes when you moor at Block Island. The boat that collects fees cracked one of ours. It took about 6 months to get the town to pay for it.
LikeLike
Yikes!
LikeLike