
After going thru this a dozen times, it is no longer fun.
We’ve had our share of fustrations with our stock Nova Kool #RFS7501 Refrigerator/Freezer. They began on our sea trial before even buying our boat with warm bottled water – that should have been a clue!
With cabin temps of under 72 degrees, we rarely had a problem, but once hotter, it just couldn’t keep up, especially over 80 degrees. Part of the problem, I’ve been told, is that the single Danfoss compressor is undersized for a combination refrigerator/freezer of this cubic footage. While the first thought might be to have a marine refrigeration technician look at it, I was hesitant. From prior boats, I have found it costs $300.00 – $400.00 with travel fees, etc. to have a tech take a look & perhaps evacuate & re-charge the system, with no guarantee of success. As this fridge is 12 years old & brand new one around $1,200.00 I would almost be inclined to just bite the bullet rather than paying a series of techs to tinker with it. While I would need a marine refrigeration technician to re-charge the system, most sources pointed that was not the problem – in fact, these Danfoss compressors are low pressure systems, which can be tricky even for good tech to re-charge on the first attempt. This dual unit (separate freezer & fridge cold plates) makes it even more challenging.
Instead, I spent many hours researching on-line & speaking with the manufacturer. There is an abundance of information on-line, as while Nova Kool units aren’t that common, it uses a Danfoss compressor – widely used on boats.
These are the various modifications I’ve made. If you’re having issues with your Nova Kool fridge/freezer, you may not need all of these fixes, but some may help yours:
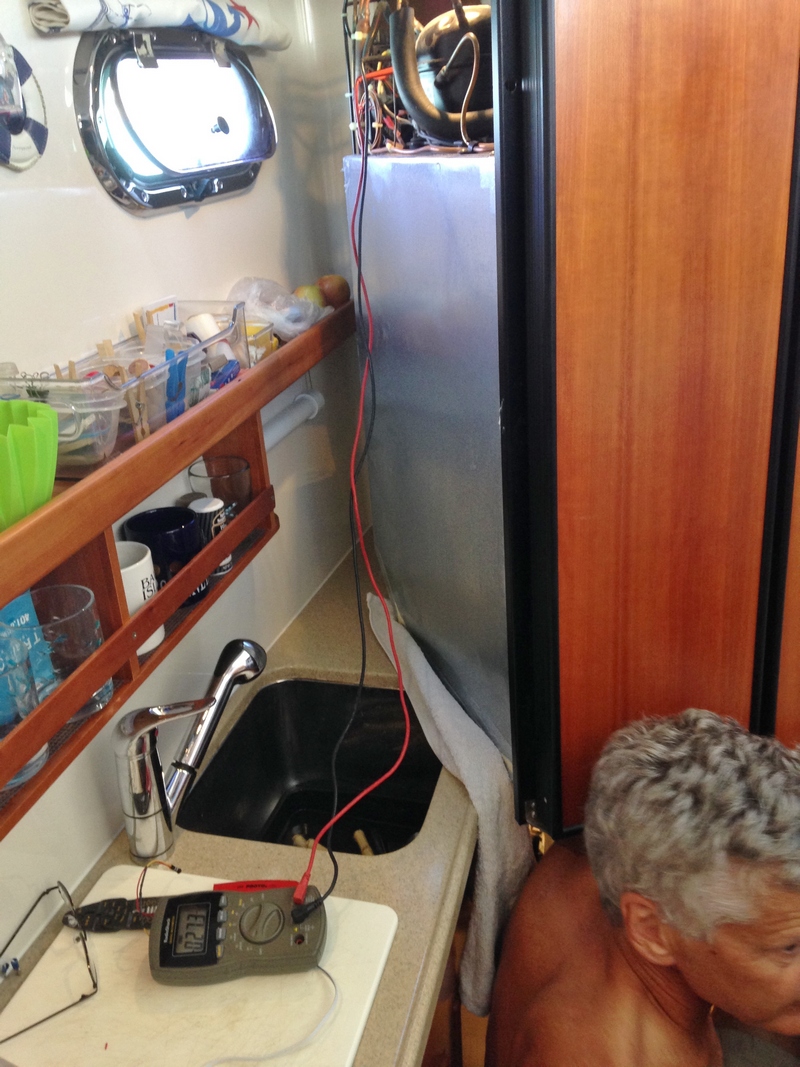
Re-wire with heavier wiring
Due to the distance from the breaker panel, the stock PDQ wire size is slightly undersized. This results in a drop of about .3 volts at the fridge. I ran new 10 gauge wire from the breaker panel to a terminal strip below the fridge. From the terminal strip up to the fridge controller I re-used the existing wiring, as it is a short distance.
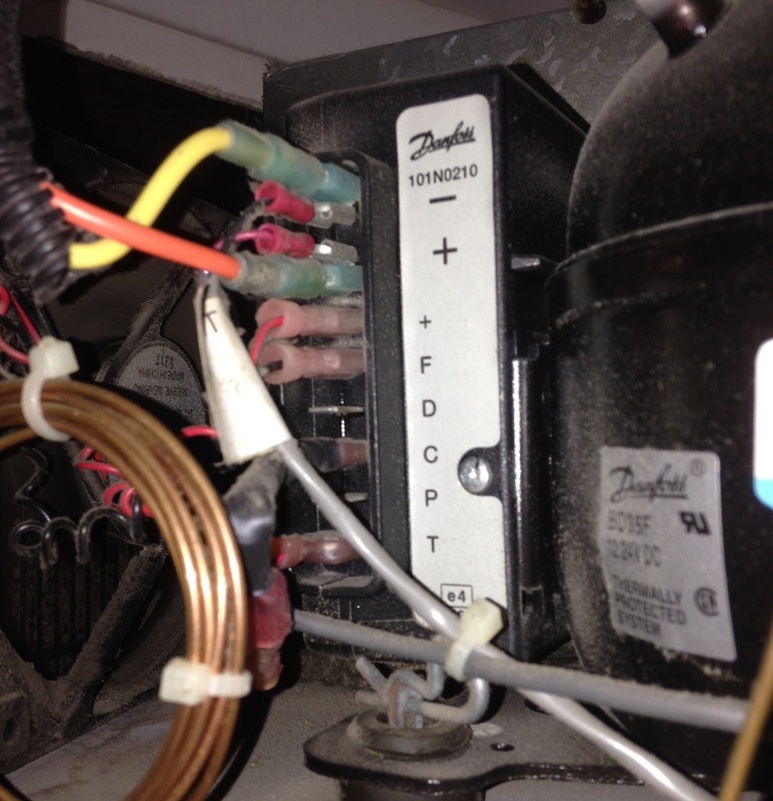
Check, clean or replace as needed the spade connectors on the controller (shown to the right). This is the very first place to start with any Danfoss issues. There are multiple testing procedures you’ll find on-line to help identify the source of a problem.
Add a pancake fan
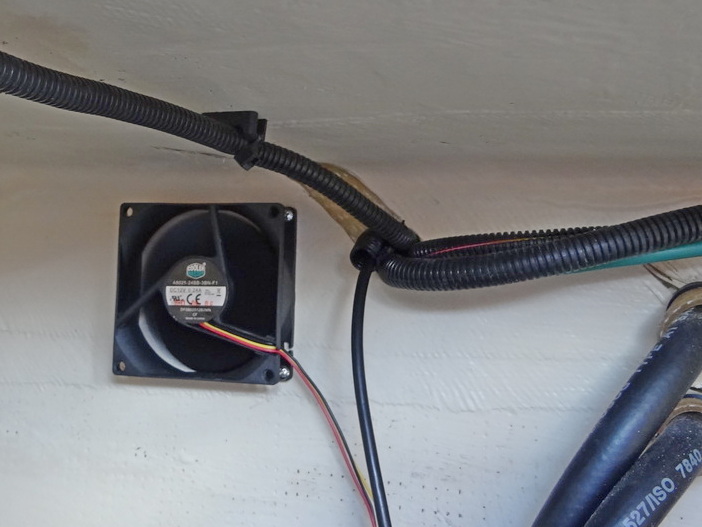 Between the heat dissipating from the coils behind the fridge, the sun beating down on the deck & heat from the adjacent generator cabinet, it can got hot back behind the fridge, hindering operation. The built-in Nova-Kool fan is somewhat ineffective as the specs expect that the fridge would be installed a “sleeve” which would help draw the air thru & out – as it is, that fan just blows the air around.
I have my pancake fan wired to operate 24/7, as the power usage is tiny. This little fan actually performs 4 tasks: Removes the hot air from behind the fridge, removes any garbage odors from under the fridge (we keep ours there), exhausts that air into the port locker (over diesel tank) to dry our dock lines & then as I removed the access plate to the anchor chain locker, the air continues into the chain locker to keep everything dry & mildew-free. It really moves the air – you can feel the air being exhausted out by the windlass where the chain drops down.
Add run & fault indicator lights
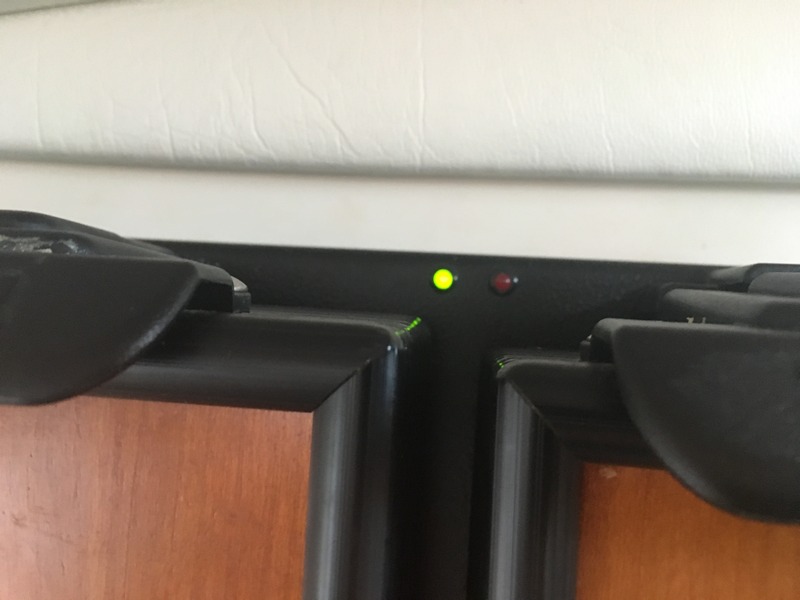 To visually see when the compressor is running to add with diagnosing, I added a green LED which lights when the compressor cycles on.
A neat feature of the Danfoss compressor controller is that by simply wiring in a $3.00 LED, you can learn of any faults causing the compressor to stop (low voltage, etc. – there is a chart telling you what the flashes mean). So if this red LED (to the right of the green LED) ever flashes, I can look up the diagnostic code to see what the failure is.
Defrost often
 While the freezer compartment can go over a month, the fridge compartment is much happier when defrosted every 2 weeks. When humid, every 1 1/2 weeks. I’ve developed a method which only takes 15 minutes, without removing the food. I purchased a short roll of bubble foam from Home Depot & cut it to the width of the opening. One piece is then cut to nearly the height of the opening – I stand it up inside the door opening 1/2 hour before I’m ready (this “keeps in” most of the cold when I open the door again for the next step). Then I have a longer piece that covers the front, plus curves up covering the top of the food. These, along with an optional heavy towel, will keep your food cold while defrosting. Turn off the fridge, leave the door open, remove the drip pan & reinsert backwards resting on top of your towels & foil, which gives you room to work. Use a hair dryer carefully, constantly moving. I switch between low & no heat – do not use too much heat or you could cause damage. The ice will quickly melt into the drip tray – empty frequently. When done, quickly dry things off, remove the towels/foil, leaving the drip tray out for now. Turn the fridge back on. Since you mostly protected the temperature of the food, there should only be a small spike & the temp will return to normal in only 1/2 hour.
Replace the built-in thermostat
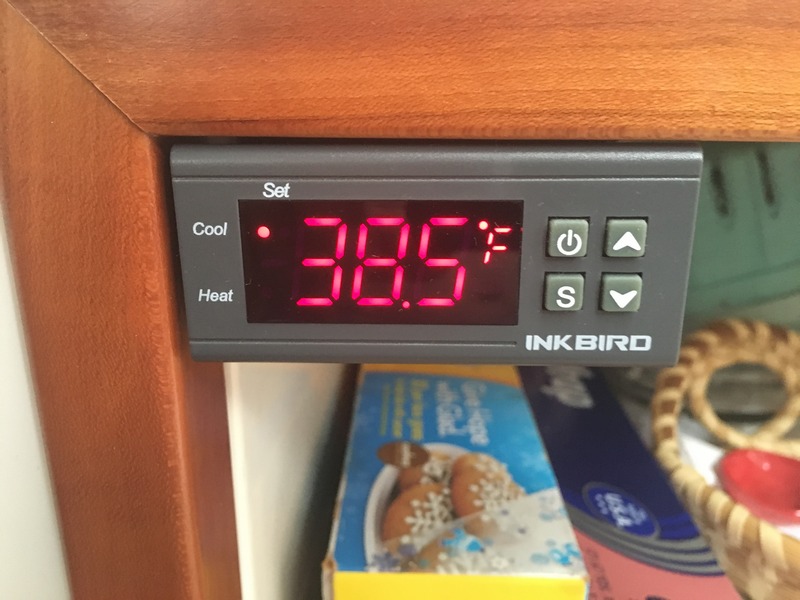 While the fridge should operate most efficiently with its factory type of thermostat, we’re much happier with our after-market digital one. It helps keep the temp much closer to our desired 38 – 39 degrees. Before, not only was there a problem going too high, there was also a problem on cold nights – even set on #1 the fridge temp would go down to 32 degrees with veggies beginning to freeze.
As this was experimental, I didn’t want to spend $90.00 on a “marine” digital fridge thermostat, so I found this Inkbird brand on Amazon for $15.00, which feature for feature appears to do the same & is working perfectly.
Timer control
 The above upgrades solved nearly every problem, but a serious one remained. Every once in a while, for a still unknown reason, the compressor would run continuously, endlessly hour after hour, with the fridge temp rising & rising while the fridge cold plate would defrost front to back. Turning it off for 10 minutes, then back on would magically “fix” it every time.
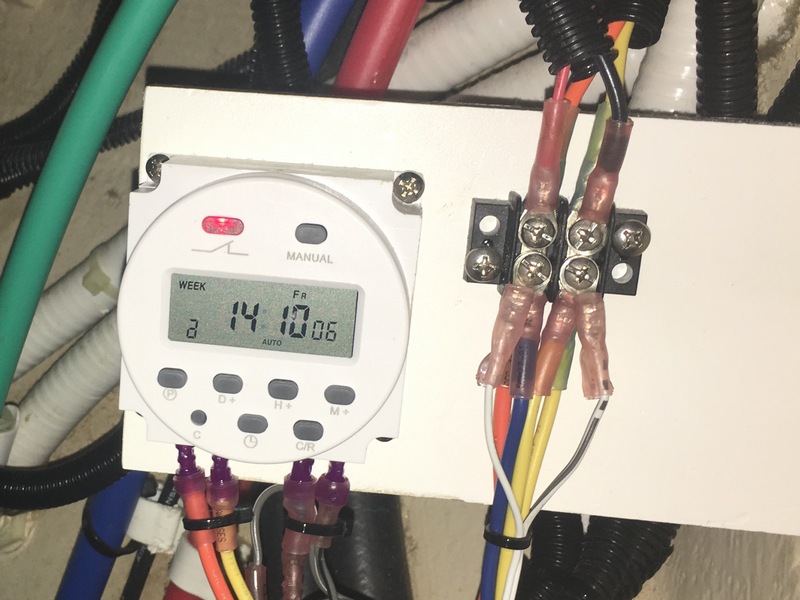
As another experiment, I bought a $12.00 programmable digital timer on Amazon in which you can set up to 16 “events”. So, I have programmed the fridge to turn off for 5 minutes (nearly) every hour & for 30 minutes at 3 AM. For whatever reason, this has eliminated the problem for us.
Conclusion
The battle appears to be over. For over 6 years with cabin temperatures ranging 55 – 90 degrees, there has not been a single issue. While I spent many, many hours, I only spent around $200.00 in total. Two other modifications I’ve made which didn’t seem to have any effect are:
- I replaced the fridge door gasket – but I don’t think there was a problem with the old one.
- I replaced the diode which controls the speed of the compressor – the new one allows the compressor to run at a slightly higher speed.
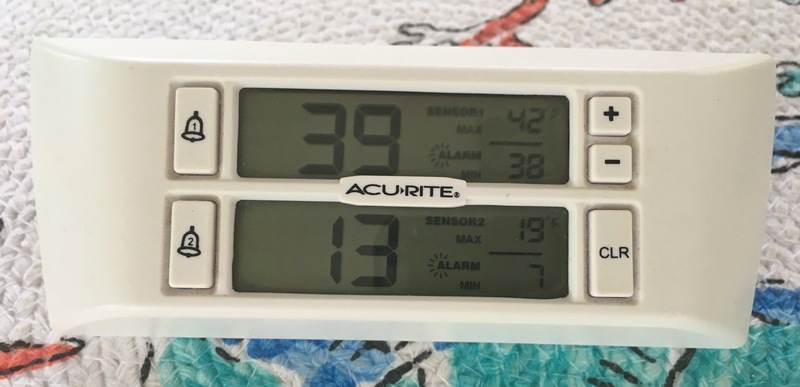 Trust, but verify. We use an Acu-Rite wireless remote temperature display with high temp alarms. The high temp alarms can be programmed as well as having the lowest & highest temps displayed. Separate senders go into the fridge & freezer (in our case – a separate Engel freezer), displaying both.
